OpenWRT-RPI flash setup
Step 1 : Download the RPI_image openwrt-bcm27xx-bcm2711-rpi-4-ext4-factory.img.gz |
Step 2 : Download Balena Etcher tool and flash openwrt-bcm27xx-bcm2711-rpi-4-ext4-factory.img.gz to SD card |
If your computer has a slot for SD cards, insert the card. If not, insert the card into an SD card reader, then connect the reader to your computer.
Download the Balena Etcher tool from the link https://www.balena.io/etcher/ and extract it and run the binary.
Extract the zip and run the binary
$ ls
balena-etcher-electron-1.7.0-linux-x64.zip

$ unzip balena-etcher-electron-1.7.0-linux-x64.zip
Archive:  balena-etcher-electron-1.7.0-linux-x64.zip
  inflating: balenaEtcher-1.7.0-x64.AppImage

$ ls
balenaEtcher-1.7.0-x64.AppImage  balena-etcher-electron-1.7.0-linux-x64.zip
test@test:dev_tools$ ./balenaEtcher-1.7.0-x64.AppImage
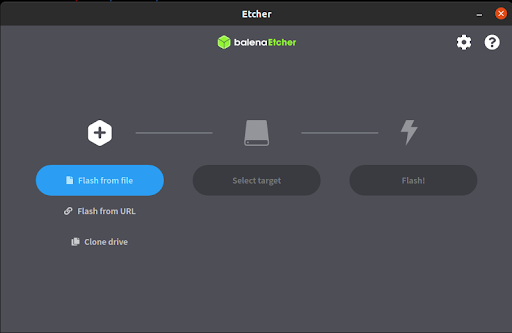
It will launch “Balena Etcher” GUI, select the image openwrt-bcm27xx-bcm2711-rpi-4-ext4-factory.img.gz and the SD card and click on flash button
Step 3 : Access the RPI using UART cable. See the pin diagram from RPI board below |

Connect Black cable of UART cable (GND) to pin 6 of RPI
Connect White cable of UART cable (RX of UART) to pin 8 of RPI
Connect Green cable of UART cable (TX of UART) to pin 10 of RPI
Step 4 : Run minicom to access RPI board |
$ sudo minicom -D /dev/ttyUSB0 -b 115200
|